Unlocking the Full Potential of BrowserStack for Localhost Testing: Dive Deep into its Advanced Capabilities
As an advanced programmer, you’re undoubtedly aware of the importance of testing web applications on various devices and browsers. But have you ever considered taking it up a notch and leveraging BrowserStack for localhost to expand your testing? In this article, we’ll explore how you can maximize the potential of BrowserStack for localhost, ensure accurate and comprehensive tests, and ultimately elevate the quality of your web applications.
*Let’s start with a question that might pique your interest: Can BrowserStack handle your application’s complex features and configurations while running on a local server?*
Understanding BrowserStack for Localhost
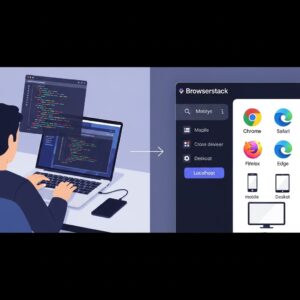
Before we delve into the workings of BrowserStack for localhost, let’s understand the basics of BrowserStack. It is a cloud-based platform that enables developers to perform cross-browser testing on a diverse range of devices and browsers without the need for maintaining physical devices or virtual machines. It offers access to 2,000+ real devices and browsers, making the testing process faster, more efficient, and cost-effective.
Now, when it comes to working with localhost, BrowserStack can indeed handle it through tunneling. This is achieved using secure tunnels that allow BrowserStack to access web apps hosted locally (localhost) or behind firewalls. As a result, you can test not only publicly accessible sites but also internal sites hosted on your local machine, all with the same ease and precision.
Setting Up BrowserStack Tunnel for Localhost
To use BrowserStack for localhost, you need to set up BrowserStack Local, a binary that creates a secure tunnel between your local server and BrowserStack’s servers. Follow these simple steps:
1. Download BrowserStack Local: Visit the dedicated [downloads page](https://www.browserstack.com/local-testing) and download the appropriate binary for your OS.
2. Run BrowserStack Local: Open your terminal or command prompt and navigate to the directory containing the downloaded binary. Next, run the following command:
“`
./BrowserStackLocal –key YOUR_ACCESS_KEY
“`
3. Verify Connection: Upon successful connection, you should see a message stating that the tunnel is active:
“`
MESSAGE TUNNEL ACTIVE
“`
4. Configure Test Settings: In your test’s settings, set the `browserstack.local` capability to `true`. This informs BrowserStack to use the tunnel for testing your web app.
5. Run Your Tests: With the tunnel active, you can now proceed to run your tests on BrowserStack.
6. Terminate Tunnel: Once your tests are complete, you can terminate the tunnel using `CTRL + C`.
*Note: It’s crucial to ensure the tunnel remains active throughout the entire testing process.*
Enhancing Testing with Advanced Features
Now that we’ve tackled the basics of setting up BrowserStack for localhost, let’s explore some advanced features you can leverage during your testing process:
# 1. Local Identifier
In scenarios where multiple tunnels are required, such as when collaborating with team members or running parallel tests, you can utilize a local identifier. This unique identifier allows you to create separate tunnels, ensuring data isolation and accurate test results.
To set up a local identifier, run the following command:
“`
./BrowserStackLocal –key YOUR_ACCESS_KEY –local-identifier UNIQUE_IDENTIFIER
“`
Then, include the `browserstack.localIdentifier` capability within your test settings:
“`
“browserstack.localIdentifier”: “UNIQUE_IDENTIFIER”
“`
# 2. Force Local
When you have a mix of public URLs and localhost URLs to test, you can use the `–force-local` flag to route all traffic via the tunnel:
“`
./BrowserStackLocal –key YOUR_ACCESS_KEY –force-local
“`
# 3. Custom Proxy
You can leverage custom proxies during testing by including the proxy settings in your BrowserStack Local command:
“`
./BrowserStackLocal –key YOUR_ACCESS_KEY –proxy-host PROXY_HOST –proxy-port PROXY_PORT –proxy-user PROXY_USER –proxy-pass PROXY_PASSWORD
“`
# 4. Debugging and Monitoring
Finally, there are various flags available for debugging and monitoring purposes. For example, to log BrowserStack Local activity, use the `–v` flag:
“`
./BrowserStackLocal –key YOUR_ACCESS_KEY –v
“`
Conclusion
In conclusion, BrowserStack for localhost provides a powerful solution to test web applications on local servers, encompassing a myriad of devices, browsers, and configurations. Its advanced features enable seamless collaboration, enhanced traffic control, and custom proxy usage, making it an indispensable tool for developers striving for flawless web applications.
Now that we’ve unlocked the secrets of BrowserStack for localhost, what complex features or configurations do you plan to put to the test? Your web apps are eagerly awaiting their upgrade!
Easily test your site across all browsers
Test a Mobile Application using Browserstack(App Automate)
Does BrowserStack work with localhost?
Yes, BrowserStack does work with localhost. BrowserStack provides a feature called Local Testing, which allows you to test your website or web application on localhost or behind a firewall. This means you can test your local development environment without deploying it to an external server. Simply set up a secure connection between your local machine and the BrowserStack cloud, and you can then access your site via localhost URLs on various browsers and devices.
How do I run BrowserStack locally?
To run BrowserStack locally in the context of a localhost, follow these steps:
1. Sign up for a BrowserStack account if you don’t have one already.
2. Download the appropriate BrowserStack Local binary for your operating system from the official website.
3. Extract the downloaded file and locate the BrowserStackLocal executable.
4. Open your terminal (Mac/Linux) or command prompt (Windows), navigate to the folder containing the BrowserStackLocal executable.
5. Start the BrowserStack Local connection by running the following command:
“`
./BrowserStackLocal –key YOUR_ACCESS_KEY
“`
Replace “YOUR_ACCESS_KEY” with your BrowserStack access key, which can be found in your account settings.
6. After running the command, you should see a message indicating that the BrowserStack Local connection is established.
7. Now you can start testing your localhost setup on BrowserStack by specifying “localhost” and the appropriate port in the test URL.
When you finish testing, remember to close the BrowserStack Local connection by pressing Ctrl + C in the terminal or command prompt.
How to test a website on localhost?
To test a website on localhost, follow these step-by-step instructions:
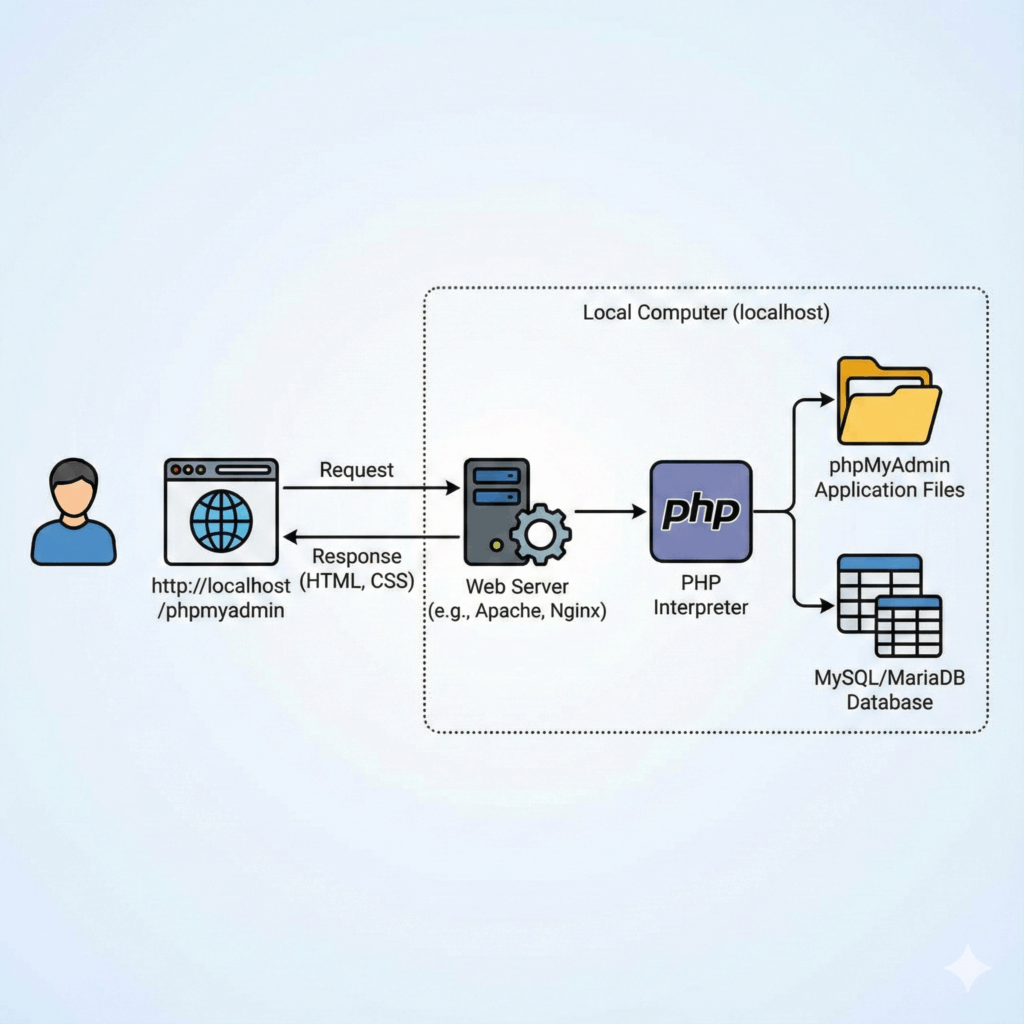
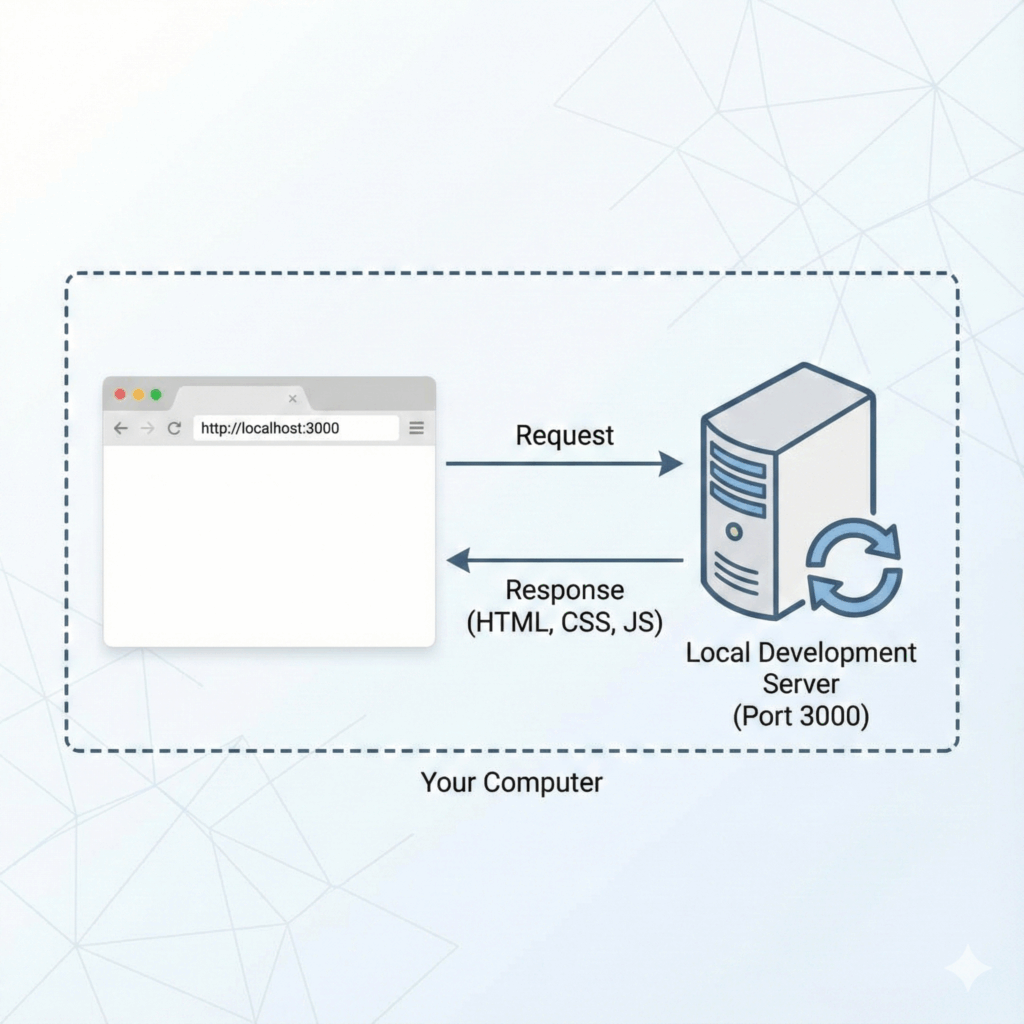
Step 1: Install a web server on your local machine. There are various web servers available such as Apache, Nginx, or the built-in web server in PHP for development purposes. For this example, we’ll use the web server provided by PHP.
Step 2: Install PHP (if not already installed) to run the web server. You can download PHP from the official website: https://www.php.net/downloads.php
Step 3: Open the Command Prompt (Windows) or Terminal (macOS/Linux).
Step 4: Navigate to the directory containing your website files using the ‘cd’ command. For example:
“`
cd C:pathtoyourwebsitefiles
“`
Step 5: Start the PHP built-in web server by running the following command:
“`
php -S localhost:8000
“`
This will start the web server on port 8000. You can replace “8000” with another port number if desired.
Step 6: Open your preferred web browser and enter the following URL:
“`
http://localhost:8000
“`
Your website should now be visible and running on your localhost.
Step 7: To stop the web server, go back to the Command Prompt or Terminal window and press `Ctrl + C`.
Keep in mind that these instructions cover testing a website using PHP’s built-in web server. If you’re using a different web server or a more complex setup (e.g., with a database), additional steps may be required.
Is BrowserStack local free?
Yes, BrowserStack Local is a free feature provided within BrowserStack services. It allows you to test localhost or web applications hosted on your local network directly from their cloud-based browsers and devices. However, to use BrowserStack Local, you need to have an active subscription for one of the BrowserStack plans, such as BrowserStack Live, Automate, or App Live.
How does BrowserStack enable testing on localhost environments while ensuring data security and privacy?
What are the necessary configurations and setup steps for using BrowserStack with localhost?
To use BrowserStack with localhost, you need to follow these necessary configurations and setup steps:
1. Create an account: Sign up for a BrowserStack account if you don’t have one.
2. Choose a product: BrowserStack offers various products like Live, Automate, App Live, and App Automate. Choose the product that fits your requirements.
3. Install and configure BrowserStack local testing: Download and install the BrowserStack Local binary for your operating system from BrowserStack’s official website.
4. Set up a secure connection: Start a secure connection between your machine and BrowserStack cloud using the command line interface (CLI). For this, you need to run the binary with your access key, which will be available in your BrowserStack account settings.
For example, on macOS or Linux, you’d run:
“`
./BrowserStackLocal –key YOUR_ACCESS_KEY
“`
On Windows, you’d run:
“`
BrowserStackLocal.exe –key YOUR_ACCESS_KEY
“`
5. Enable local testing: Enable the Local Testing feature in the BrowserStack dashboard for your chosen product.
6. Access your local site: Enter your localhost URL (e.g. http://localhost:8000) in the BrowserStack tool to access your locally hosted website or application.
7. Test your localhost on multiple browsers and devices: With BrowserStack, you can now test your localhost website or application on different browser and device combinations, observe the behavior, and debug issues.
Remember to close the secure connection once you’ve completed your testing by pressing “Ctrl + C” in the CLI where BrowserStack Local is running.
By following these steps, you can easily set up and use BrowserStack with your localhost environment to ensure your website or application works seamlessly across various platforms and devices.
Can you utilize BrowserStack’s real device and browser combinations to test your localhost applications, and how can Live Testing and Automate features be integrated?
Yes, you can utilize BrowserStack’s real device and browser combinations to test your localhost applications. BrowserStack enables testing of your internal servers or localhost applications in a secure manner through their Local Testing feature.
To set up Local Testing, follow these steps:
1. Install BrowserStack Local: Download and install the BrowserStack Local app for your operating system (Windows, macOS, or Linux).
2. Establish a connection: Run the BrowserStack Local app on your machine and connect it to the BrowserStack cloud using your authentication credentials. This creates a secure tunnel between your localhost application and BrowserStack’s real devices.
3. Configure test settings: While configuring your test session on BrowserStack, make sure to enable the “Local Testing” option to route the traffic through the secure tunnel.
Now, you can access your localhost applications on BrowserStack’s real devices and browsers for testing.
Integrating Live Testing and Automate features:
– For Live Testing, navigate to the BrowserStack Live dashboard, select the desired device/browser combination, and enter your localhost URL to start testing interactively.
– To integrate Automate features, like running automated tests using Selenium, Appium, or other frameworks, update your test scripts to use BrowserStack’s remote WebDriver capabilities and include the BrowserStack Local identifier. Make sure you have the Local Testing connection established as per the steps mentioned earlier.
By following these guidelines, you can effectively use BrowserStack’s real device and browser combinations for testing your localhost applications while integrating Live Testing and Automate features.


