You can also visit phpMyAdmin in your localhost using this button:
phpMyAdmin is a free software tool designed for web-based administration of MySQL and MariaDB databases. It simplifies various tasks associated with database management, allowing users to:
- Manage databases and tables
- Execute SQL queries
- Import and export data in multiple formats, such as CSV and XML
This tool is particularly useful for individuals managing databases locally. In 2024, setting up localhost phpMyAdmin can enhance your database management experience significantly.
This article will guide you through the process of setting up and using localhost phpMyAdmin. You will gain insights into creating databases, managing them effectively, and troubleshooting common issues, all aimed at ensuring a smooth experience for working with your MySQL databases.
Understanding phpMyAdmin
phpMyAdmin is a powerful MySQL management tool designed for web-based administration of MySQL and MariaDB databases. It offers a user-friendly interface that simplifies complex database operations, making it accessible even for users with limited technical expertise. Key functionalities include:
- Database Management: You can easily create, modify, or delete databases and tables. This feature streamlines the organization of your data.
- Executing SQL Queries: The ability to run custom SQL queries directly through the interface allows for advanced data manipulation and retrieval.
- Data Import/Export: phpMyAdmin supports various formats (CSV, XML, PDF) for importing and exporting data, enhancing flexibility in data handling.
When comparing phpMyAdmin to command-line interfaces, several advantages become evident:
- User-Friendly Interface: The visual representation of databases and tables makes navigation straightforward.
- Reduced Learning Curve: Users can perform tasks without needing extensive knowledge of SQL commands.
- Error Prevention: The graphical interface minimizes the risk of syntax errors common in command-line operations.
These features position phpMyAdmin as an essential tool for anyone looking to manage their MySQL or MariaDB databases efficiently.
Prerequisites for Setting Up phpMyAdmin
Setting up phpMyAdmin requires specific software components to run effectively. The essential components include:
- Apache Web Server: This server allows your web applications to be hosted and accessed via a web browser.
- PHP: A server-side scripting language that enables dynamic content creation and interaction with databases.
- MySQL: The database management system where your data will be stored and managed.
Overview of LAMP and XAMPP Stacks
Two popular environments for running phpMyAdmin are:
- LAMP Stack: Comprising Linux, Apache, MySQL, and PHP, this setup is widely used for web development on Linux-based systems like Ubuntu or Linux Mint.
- XAMPP: A cross-platform stack that includes Apache, MySQL, PHP, and Perl. It simplifies the installation process by bundling all necessary software into one package.
System Requirements for Installation on Linux Mint or Ubuntu
When installing on Linux Mint or Ubuntu, ensure your system meets these requirements:
- Operating System: A compatible version of Linux Mint or Ubuntu.
- Memory: At least 2GB of RAM is recommended for smooth performance.
- Disk Space: Sufficient storage to accommodate the software packages and databases.
These prerequisites form the foundation for a successful localhost phpMyAdmin installation. Proper setup allows you to manage databases efficiently using an intuitive interface.
Step-by-Step Guide to Install phpMyAdmin on Localhost
To set up localhost phpMyAdmin, you need to install several components. Follow these commands to get the necessary software running:
1. Install Apache
This web server is essential for serving your phpMyAdmin interface. Use the command:
bash sudo apt install apache2
2. Install PHP
This scripting language enables dynamic content management. Execute the following command:
bash sudo apt install php
3. Install MySQL Server
This is your database management system, critical for data storage and retrieval. Run:
bash sudo apt install mysql-server
Each command installs a crucial component of the LAMP stack (Linux, Apache, MySQL, PHP) or its alternatives like XAMPP. Ensure that each installation completes successfully before proceeding to the next step.
After installing these components, you will have a functional environment ready for phpMyAdmin installation. Next, you can follow the specific steps to install phpMyAdmin itself and configure it accordingly.
Installing phpMyAdmin and Configuring Apache for It
To install phpMyAdmin, use the following command in your terminal:
bash sudo apt install phpmyadmin
During this process, you may be prompted to select the web server that should be automatically configured to run phpMyAdmin. Choose Apache and proceed with the installation.
After installation, it’s essential to modify the Apache configuration files to ensure proper access to localhost phpMyAdmin. This can be done by adding an alias for phpMyAdmin. Follow these steps:
- Open the Apache configuration file using a text editor, like nano:
- bash sudo nano /etc/apache2/apache2.conf
- Add the following line at the end of the file to create an alias:
- apache Alias /phpmyadmin /usr/share/phpmyadmin
- Save and exit the editor (in nano, press
CTRL + X, thenYto confirm changes). - Restart Apache to apply changes:
- bash sudo systemctl restart apache2
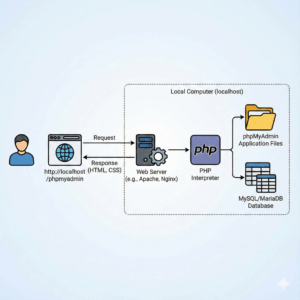
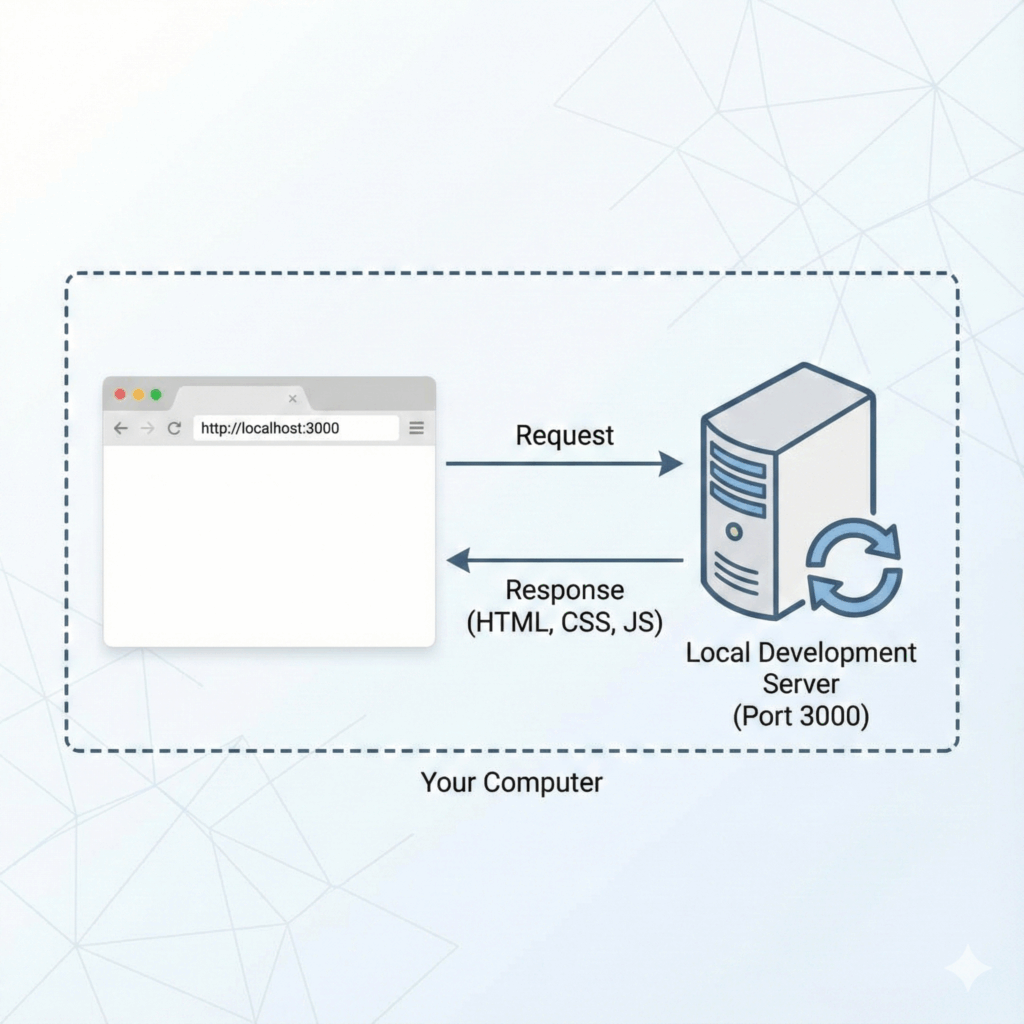
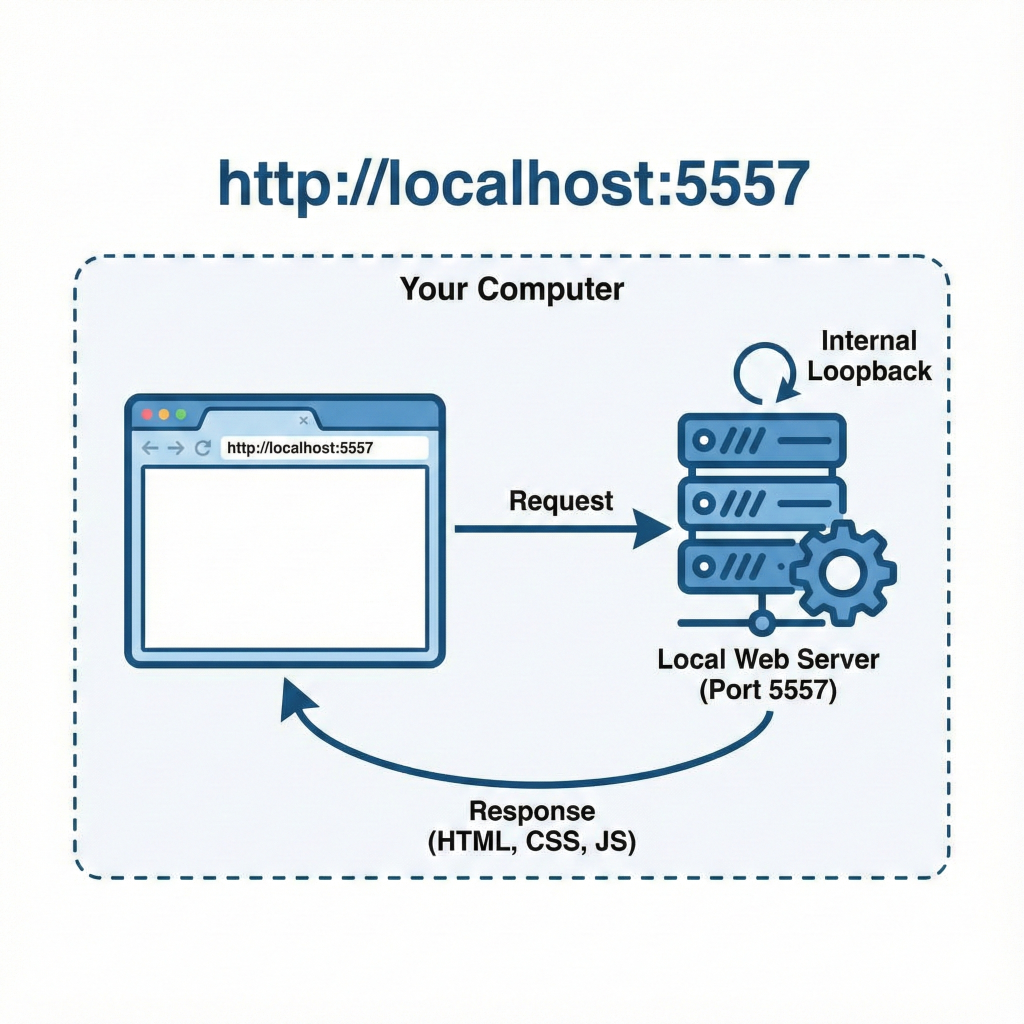
Now, you can access phpMyAdmin by navigating to http://127.0.0.1/phpmyadmin or http://localhost/phpmyadmin in your web browser. If you need to use a different port, such as 8080, ensure that Apache is configured to listen on that port as well.
This setup guarantees smooth access to your localhost phpMyAdmin interface for effective database management.
Accessing and Understanding the Interface of phpMyAdmin
Accessing phpMyAdmin is straightforward. Open your web browser and navigate to http://localhost/phpmyadmin. This URL directs you to the login page of the phpMyAdmin interface.
Login Credentials
Enter your MySQL username and password. The default username is typically ‘root’. If you have changed this during MySQL installation, use your custom credentials.
Dashboard Layout
Upon successful login, you will be greeted by the localhost dashboard phpMyAdmin. The layout is user-friendly, designed for easy navigation through various database management tasks. Key sections of the dashboard include:
- Navigation Panel: Located on the left side, this panel displays all databases available on your server.
- Main Panel: This central area shows detailed information about selected databases or tables.
- Tabs for Operations: Options like Database, SQL, Export, and Import are clearly visible, allowing you to perform specific actions quickly.
The intuitive design simplifies managing databases, executing SQL queries, and importing/exporting data in various formats like CSV or XML. Familiarizing yourself with this layout will enhance your efficiency in managing MySQL databases effectively.
Managing Databases Using phpMyAdmin
Managing databases in phpMyAdmin is straightforward thanks to its user-friendly interface. Follow these steps to create new databases and tables:
1. Create a New Database:**
- On the dashboard, locate the Databases tab.
- Enter a name for your new database in the provided field.
- Click on the Create button.
2. Create a New Table:**
- Select your newly created database from the left sidebar.
- In the main area, you will see an option to create a new table.
- Specify the table name and number of columns, then click Go.
3. Define Table Structure:**
- Add relevant details for each column, such as name, type (e.g., INT, VARCHAR), and attributes (e.g., NOT NULL).
- After entering all details, select Save to finalize your table setup.
With these steps, you can efficiently manage databases in localhost phpMyAdmin, tailoring your database structure to meet project requirements.
User Management and Executing SQL Queries in phpMyAdmin
Managing MySQL user accounts is a crucial aspect of database administration. phpMyAdmin simplifies this process with an intuitive interface.
Adding and Managing MySQL Users
To add a new user account:
- Navigate to the User Accounts tab.
- Click on Add user account.
- Fill in the necessary details:
- Username: Specify a unique username.
- Host name: Use ‘localhost’ for local access.
- Password: Set a strong password to enhance security.
- Assign appropriate MySQL user permissions based on the intended role:
- Select global privileges or specific database access.
Users can be edited or deleted from the same tab, allowing for efficient management.
Executing SQL Queries
phpMyAdmin features a built-in SQL execution tool that enables you to run custom queries directly from the interface.
- Go to the SQL tab located on the top menu.
- Enter your SQL command in the provided text box.
- Click on Go to execute the query.
This feature allows for real-time interaction with your databases, enabling you to retrieve data, update records, or perform complex operations efficiently. With these tools at your disposal, managing users and executing queries becomes straightforward, enhancing your overall database management experience.
Troubleshooting Common Issues in Localhost Setup
When working with localhost phpMyAdmin, you may encounter some common issues that affect your access and functionality. Here are a few troubleshooting tips for resolving these access issues:
1. 404 Not Found Error
- Ensure phpMyAdmin is installed correctly. Use the command
sudo apt install phpmyadminto check installation. - Verify the configuration in Apache. Look for the alias setting in your Apache configuration files, typically found in
/etc/apache2/sites-available/.
2. Other Access Issues
- Confirm that Apache is running. You can start it using
sudo service apache2 start. - Check for potential port conflicts, especially if another service is using port 80 or 443. Tools like
netstatcan help identify port usage.
Addressing these common problems can facilitate a smoother experience while managing your MySQL databases through phpMyAdmin on localhost.
Port Conflicts and Resolutions in Localhost Setup
When setting up localhost phpMyAdmin, it is essential to understand the default ports used by Apache. By default, Apache listens on port 80 for HTTP and port 443 for HTTPS. Conflicts may arise if another application is already using these ports.
Common Applications Causing Port Conflicts:
- Skype: Often uses port 80 and 443 for its incoming connections, which can interfere with your Apache server.
- Other Web Servers: If you have multiple web servers installed, they may compete for the same port.
Resolving Port Conflicts:
- Change Skype Settings:
- Navigate to Tools > Options > Advanced > Connection. Uncheck “Use port 80 and 443 for additional incoming connections.”
- Modify Apache Ports:
- Edit the
httpd.conffile (typically found in/etc/apache2/). Change theListen 80line to an alternative port likeListen 8080.
After addressing any conflicts, restart Apache with the command:
bash sudo systemctl restart apache2
This process ensures a smooth operation of localhost phpMyAdmin without interruptions from conflicting applications.
Error Log Analysis for Troubleshooting MySQL Login Issues
When encountering MySQL login issues, error log analysis is crucial. Checking the Apache error logs can provide insight into underlying problems. To access the logs, use the following command:
bash sudo tail -f /var/log/apache2/error.log
Look for entries related to phpMyAdmin or MySQL that indicate failed login attempts or misconfigurations.
Common MySQL login issues include:
- Incorrect Credentials: Ensure you are using the correct username and password. The default username is usually
root. - User Privileges: Verify that the user has the necessary privileges. You can adjust this in MySQL by executing:
- sql GRANT ALL PRIVILEGES ON . TO ‘username’@’localhost’;
- MySQL Service Status: Check if the MySQL service is running with:
bash sudo systemctl status mysql
A thorough error log analysis helps identify and resolve these common login problems effectively.
Advanced Configuration Options in phpMyAdmin
Configuring localhost for phpMyAdmin allows you to tailor your database management experience to suit your needs. Here are some options for customizing your local environment settings:
- Configuration File: Locate the
config.inc.phpfile in the phpMyAdmin directory. This file contains various settings that can be adjusted, such as authentication methods and server parameters. - Theme Customization: You can modify the user interface by selecting different themes. Navigate to the “Appearance Settings” section within phpMyAdmin to choose from available themes or upload custom ones.
- Database Server Settings: Adjust settings for connecting to multiple databases or configuring access permissions for different users. This enhances security and flexibility in managing database connections.
- Language Preferences: Change the default language of the interface by editing the
config.inc.phpfile or through the user interface, making it more accessible for non-English speakers.
These customization options enhance usability and make managing your MySQL databases more efficient.
Using Plugins with PhpMyAdmin
You can enhance your experience with phpMyAdmin on localhost by using various plugins. These plugins provide additional features and functionalities that make database management tasks easier. Here are some notable plugins to consider:
- Theme Manager: Change the look and feel of your phpMyAdmin interface with customizable themes.
- Database Designer: Visualize relationships between tables, making it easier to understand complex data structures.
- Export Import: Simplify the process of exporting and importing databases in different formats.
- SQL Formatter: Improve the readability of SQL queries by formatting them automatically.
Installing these plugins usually involves downloading them from the official phpMyAdmin plugin repository and placing them in the appropriate directory. Accessing and managing these plugins is straightforward, allowing you to customize your environment to meet specific needs. By using plugins effectively, you can significantly boost your productivity and efficiency while working with phpMyAdmin on localhost.
Conclusion
Setting up localhost phpMyAdmin in 2024 empowers you to manage your MySQL databases effectively. Key aspects covered include:
- Installation of necessary software: Apache, PHP, and MySQL.
- Configuration of phpMyAdmin for seamless access and usability.
- Utilization of its user-friendly interface for database management tasks.
Engaging with phpMyAdmin not only simplifies database operations but also provides a powerful toolset for executing SQL queries and managing users. Embrace this tool to enhance your local development environment and streamline your database management experience.


