Master Auth0 Localhost Integration: The Ultimate Guide for Advanced Programmers
As an experienced programmer, you’ve undoubtedly encountered a wide range of authentication and authorization methods. But have you ever delved deep into the world of Auth0 localhost? If not, prepare to embark on an enlightening journey! In this comprehensive article, we will demystify the intricacies surrounding Auth0 localhost integration and reveal valuable insights that will help you achieve seamless user authentication in your projects.
Ready? Let’s dive in!
# Table of Contents
1. [Understanding Auth0](#h2_understanding_auth0)
2. [Setting Up Local Environment](#h2_setting_up_local_environment)
3. [Creating Your Application and API](#h2_creating_your_application_and_api)
4. [Implementing Login Functionality](#h2_implementing_login_functionality)
5. [Securing Your APIs](#h2_securing_your_apis)
6. [Testing and Troubleshooting](#h2_testing_and_troubleshooting)
Before we explore Auth0 localhost, let’s ensure we fully understand Auth0 itself. Auth0 is a flexible, drop-in solution designed to handle authentication and authorization for web, mobile, and legacy applications. With minimal code requirements and simple configuration, Auth0 makes it easy to implement robust security features while providing a seamless user experience.
Key benefits of Auth0 include:
– Single Sign-On (SSO): One set of credentials for multiple applications, reducing user friction.
– Social Login Support: Users can quickly sign in using their favorite social accounts, such as Google or Facebook.
– Multi-factor Authentication (MFA): Enhanced security through additional authentication factors, such as one-time passwords or biometrics.
– Scalability and Flexibility: Auth0 grows with your project, easily accommodating anything from a small app to a large-scale enterprise solution.
Now that you’re familiar with Auth0, let’s set up our local environment for integrating it into our projects.
In this section, we’ll discuss how to create an ideal local environment for working with Auth0 localhost. The following steps will ensure a smooth experience during development and testing:
1. Install Node.js and npm (if not already installed): Auth0 relies on Node.js for its server-side SDKs and npm for package management. Ensure you have the latest LTS versions of both installed.
2. Check Your Hosts File: Make sure your hosts file has an entry for *localhost*. Add the line `127.0.0.1 localhost` if necessary.
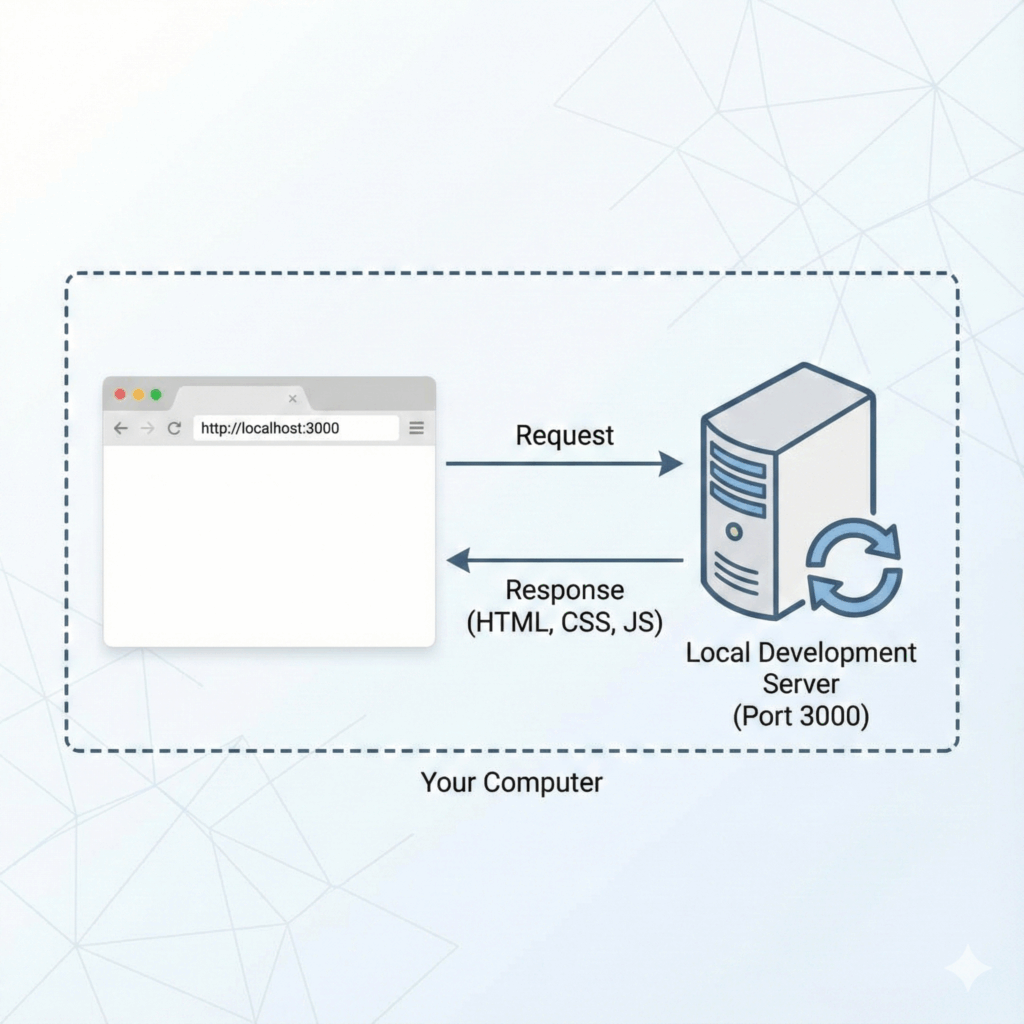
3. Use HTTPS: Auth0 requires secure connections (HTTPS) for its endpoints. To test your application locally, use [ngrok](https://ngrok.com/), [mkcert](https://github.com/FiloSottile/mkcert), or similar tools to expose your local server via HTTPS.
With these steps complete, you’re ready to start working with Auth0 localhost.
Creating Your Application and API
The next step is to create your application and API within the Auth0 dashboard. Here’s how:
1. Sign up for a free account at [auth0.com](https://auth0.com/)
2. Create a new Application:
– Click on “Applications” in the sidebar.
– Click “Create Application.”
– Choose a suitable application type, e.g., “Single Page Web Applications” or “Regular Web Applications.”
– Provide a name and click “Create.”
3. Configure the Allowed Callback URLs, Allowed Logout URLs, and Allowed Web Origins under “Application Settings”. For local development, use `https://localhost:3000/callback` (modify the port accordingly) as your callback URL.
4. Create a new API:
– Click on “APIs” in the sidebar.
– Click “Create API.”
– Provide a name and identifier (e.g., `https://my-api.example.com`).
– Choose an appropriate signing algorithm (e.g., RS256).
Great job! With the application and API configured, you can now start implementing authentication in your project.
Implementing Login Functionality
To add login functionality to your app, follow these steps:
1. Install the Auth0 SDK for your technology stack (e.g., `auth0-js` for JavaScript or `auth0-react` for React).
2. Initialize an Auth0 client using your Domain and Client ID from the Auth0 dashboard.
3. Implement the `loginWithRedirect` or `loginWithPopup` method to initiate user authentication.
4. Handle the authentication response:
– If successful, store the access tokens and user profile information.
– If unsuccessful, display an error message to the user.
Your application should now have a functioning login flow that utilizes Auth0.
Ensure secure access to your APIs by following these steps:
1. Install the appropriate middleware for validating JWTs in your server-side technology stack (e.g., `express-jwt` for Node.js/Express).
2. Configure the middleware with your Auth0 Domain and API Identifier.
3. Add the middleware to protect the routes requiring authentication.
4. Optionally, add role-based access control using Auth0’s Authorization extension or custom rules.
With these measures in place, your APIs will be secure, permitting access only to authenticated users with appropriate permissions.
Lastly, let’s cover testing and troubleshooting the Auth0 localhost integration:
1. Test authentication flows (login, logout, and token refresh) thoroughly by simulating various scenarios.
2. If you encounter issues, consult the [Auth0 documentation](https://auth0.com/docs/) and [community forum](https://community.auth0.com/) for guidance.
3. Enable Auth0’s logging features to gain insight into potential problems.
4. Verify that your application correctly handles errors and edge cases, such as expired tokens or revoked permissions.
Congratulations! By following this ultimate guide to Auth0 localhost integration, you’ve now achieved a secure, efficient, and user-friendly authentication system for your projects. Happy coding!
Authelia | The Ultimate Guide To Install and Configure (2022)
OAuth 2.0 and OpenID Connect (in plain English)
How to configure Auth0 for successful authentication on a localhost environment?
To configure Auth0 for successful authentication on a localhost environment, follow these steps:
1. Sign up or log in to your Auth0 account at https://auth0.com/.
2. If necessary, create a new Auth0 Application or use an existing one. To create a new Application, navigate to the “Applications” section and click on the “Create Application” button.
3. In the “Settings” tab, scroll down to the “Allowed Callback URLs” field. Add your localhost URL with specified port, such as `http://localhost:3000/callback`. It’s essential to add the real callback path from your application.
4. Add your localhost URL to the “Allowed Logout URLs” field, such as `http://localhost:3000`.
5. Add your localhost URL to the “Allowed Web Origins” field, such as `http://localhost:3000`.
6. Scroll to the bottom of the page and click the Save Changes button.
7. In your application code, make sure you have installed the required Auth0 SDK (e.g., `auth0-spa-js` for Single Page Applications).
8. Configure your Auth0 instance in your application with the Domain, Client ID, and Callback URL you defined in the Auth0 Dashboard. These values can be found in the “Settings” tab.
For example, using the `auth0-spa-js` library, you might configure your Auth0 instance like this:
“`javascript
import createAuth0Client from ‘@auth0/auth0-spa-js’;
const auth0 = await createAuth0Client({
domain: ‘your-domain.auth0.com’,
client_id: ‘your-client-id’,
redirect_uri: ‘http://localhost:3000/callback’
});
“`
9. Implement the authentication flow using the Auth0 SDK in your application. This typically involves creating a login button, handling the login process, managing user sessions, and handling logouts.
Once you have completed these steps, you should be able to authenticate users within your localhost environment using Auth0. Make sure to replace `your-domain.auth0.com`, `your-client-id`, and `http://localhost:3000` with the appropriate values from your Auth0 Dashboard and local setup.
What are the common challenges and solutions faced while implementing Auth0 in a localhost setup?
Implementing Auth0 in a localhost setup comes with its own set of challenges. Here are some common issues and their solutions:
1. Callback URL Configuration: Configuring the correct callback URLs for your application in the Auth0 dashboard is crucial for proper authentication flow. Ensure that you have added your localhost URL (e.g., http://localhost:3000/callback) to the allowed callback URLs in your Auth0 settings.
2. Handling HTTPS on localhost: When working on a production environment, using HTTPS is recommended. However, on localhost, setting up SSL/TLS certificates can be cumbersome. If you are developing a web application, consider using a development-only proxy that handles HTTPS for you, like the `http-proxy-middleware` package.
3. CORS (Cross-Origin Resource Sharing) issues: Auth0 uses CORS to allow only specific origins (e.g., your localhost domain) to access its APIs. To avoid CORS-related issues, make sure you add your localhost URL to the “Allowed Web Origins” and “Allowed Origins (CORS)” settings in your Auth0 dashboard.
4. Storing sensitive data: During development on localhost, you may need to store sensitive Auth0 config values (such as your client ID and secret) in your code. Use environment variables or a `.env` file to store these values securely and avoid exposing them in your version control system.
5. Development vs. Production environments: To ensure smooth transitions between localhost development and production deployments, create separate Auth0 applications for each environment. This allows you to manage different configurations, callback URLs, and security settings for each application without affecting the other.
6. Debugging and testing: Implementing Auth0 in a localhost setup may require testing various scenarios like login, logout, and token refresh. Use browser developer tools, logging, or debugging libraries like `auth0-js` or `auth0-spa-js` to help diagnose issues and verify that your authentication flow works as expected.
By addressing these challenges and implementing the appropriate solutions, you can successfully integrate Auth0 into your localhost environment and develop a secure authentication system for your applications.
How to manage callback URLs and CORS settings in Auth0 when using localhost for development purposes?
When using localhost for development purposes, it is essential to manage callback URLs and Cross-Origin Resource Sharing (CORS) settings in Auth0 correctly. It ensures a smooth and secure authentication flow. This guide will help you configure callback URLs and CORS settings in Auth0 when using localhost:
1. Sign in to your Auth0 dashboard.
2. Select the Application for which you want to configure callback URLs and CORS settings.
3. Locate the “Application Settings” section.
4. In the “Allowed Callback URLs” field, enter your localhost URL followed by the path where Auth0 should redirect the user after authentication. For example: http://localhost:3000/callback. Make sure to replace the port number with the one used by your development server.
5. Scroll down to the “Allowed Logout URLs” field, and enter your localhost URL where Auth0 should redirect after a successful logout. For example: http://localhost:3000/. Replace the port number accordingly.
6. Now, let’s configure CORS settings. Go to the “APIs” section in your Auth0 dashboard.
7. Select the API for which you want to configure CORS settings.
8. Locate the “Settings” section.
9. In the “Allowed Origins (CORS)” field, enter your localhost URL where your application is running. For example, http://localhost:3000. Replace the port number as needed.
10. Don’t forget to Save your changes.
By following these steps, you have successfully configured callback URLs and CORS settings for your Auth0 application when using localhost for development purposes. Remember to update these settings when you deploy your application to a production environment.


