If you’re an experienced programmer, you no doubt have come across localhost:8983 at some point during your coding adventures—but are you getting the most out of this powerful resource? In this in-depth article, we’ll delve into localhost 8983 like never before, revealing hidden tips and tricks that will supercharge your projects and impress even the most discerning tech aficionados.
What is Localhost 8983, and Why Should You Care?
At its core, localhost 8983 is a port number that serves as a preconfigured listening point for a specific network service running on your local machine—such as web servers, databases, or search engines. By using this port, developers can test and refine their projects in a safe, sandboxed environment without exposing them to the wider internet.
_Port 8983_, in particular, is commonly associated with Apache Solr, a widely-used open-source search platform built on Apache Lucene that provides powerful indexing and search functionality for various applications. However, it’s essential to mention that other services can also use port 8983 if appropriately configured.
#Setting up Localhost 8983 in Your Development Environment
Before diving into advanced techniques and best practices, let’s ensure you have the necessary foundation in place. Here’s a quick breakdown of setting up localhost 8983 for use with Apache Solr:
1. Download & Install Solr: Visit the official Apache Solr website and download the latest Solr version. Once downloaded, extract the files to your preferred directory.
2. Start Solr: Using your terminal or command prompt, navigate to the root folder of your Solr installation and execute the following command:
binsolr start -p 8983This will start Solr on port 8983. You can now access Solr’s admin interface by visiting `http://localhost:8983/solr` in your web browser.
With your setup complete, let’s explore several advanced strategies to optimize your localhost 8983 experience.
# Harnessing the Power of Apache Solr with Localhost 8983
Creating Custom Cores
Solr uses _cores_ to hold and manage different data collections separately. While you can use the default collection created during Solr installation, creating custom cores allows for more granular control over indexing and search functionality. To create a new core, run the following command:
binsolr create_core -cReplace “ with the desired name for your new core. This creates a new folder within the `server/solr` directory containing your core’s configuration files.
Fine-Tuning Indexing Performance
By default, Solr is configured for general use cases, but you can tweak various settings to optimize indexing performance for your specific needs. One such setting is the `autoCommit` parameter located in the `solrconfig.xml` file. Changing the interval between automatic commits can significantly impact performance—shorter intervals ensure that indexed data is available for searching quickly, while longer intervals reduce potential I/O overhead.
“`xml
${solr.autoCommit.maxTime:15000}
false
“`
In the example above, the `maxTime` value is set to 15000 milliseconds, meaning that Solr will automatically commit any pending changes every 15 seconds. Adjust this value based on your performance requirements.
Scaling with SolrCloud
Using Solr in a standalone configuration is suitable for small applications, but as your project grows, you may need to scale your search infrastructure. This is where SolrCloud comes into play. SolrCloud is a distributed search solution that leverages Apache ZooKeeper for coordination, enabling features like automatic sharding, load balancing, and fault tolerance.
To set up SolrCloud, you’ll first need to [download and configure Apache ZooKeeper](https://zookeeper.apache.org/doc/r3.7.0/zookeeperStarted.html). Once that’s complete, you can start your Solr nodes in cloud mode using the following command:
binsolr start -cloud -p 8983 -s -z#Throughout this article, we’ve explored the ins and outs of localhost 8983, unraveling its mysteries and unlocking its full potential. By understanding the versatility of port 8983—whether it’s serving as a convenient sandbox for your projects or powering robust search functionality with Apache Solr—you’re now better equipped to tackle even the most demanding development challenges.
Embrace these advanced techniques, apply them to your projects, and witness your skillset expand like never before. The world of localhost 8983 is yours for the taking—are you ready to seize it?
Live Server Extension in Visual Studio Code – Automatically Reload Your Site on Save!
Sun Microsystems (Re-Encode) – Computerphile
What service is running on port 8983?
The service running on port 8983 in the context of localhost is typically Apache Solr, an open-source search platform that provides powerful text search and data indexing capabilities.
What is the local host of Solr?
The localhost of Solr refers to the default address where the Solr server runs on your local machine. Generally, the localhost of Solr is accessible through the URL:
http://localhost:8983/solr
Here, localhost signifies the local machine, and 8983 is the default port number for Solr.
How do I access Solr admin UI?
To access the Solr admin UI on localhost, follow these steps:
1. Make sure that Apache Solr is installed on your local machine. If not, download and install it from the official website: https://lucene.apache.org/solr/downloads.html
2. Start the Solr server by opening a command prompt or terminal window, navigating to the Solr installation directory, and running the following command:
“`
bin/solr start
“`
This will start the Solr server on the default port, which is 8983.
3. Open your preferred web browser and navigate to the following URL:
“`
http://localhost:8983/solr
“`
This will take you directly to the Solr admin UI on your localhost.
4. From the Solr admin UI, you can manage your cores or collections, perform queries, and configure various settings for your Solr instance.
Remember to replace the port number in the URL with the appropriate one if you have changed it during the Solr installation or configuration process.
How to connect Solr to database?
To connect Solr to a database, you should follow these steps:
1. Install Solr: Download and install Apache Solr on your local machine. You can find the download and installation instructions on the official Solr website: https://solr.apache.org/downloads.html
2. Run Solr: Start the Solr server by navigating to the Solr directory and running the following command in your terminal:
“`
bin/solr start
“`
3. Create a Solr core: In order to index the data from the database, you’ll need to create a Solr core. You can do this by running the following command:
“`
bin/solr create -c
“`
Replace “ with the desired name for your Solr core.
4. Install Data Import Handler (DIH): To import data from the database, you’ll need to use the Data Import Handler. First, navigate to the Solr core configuration directory:
“`
cd server/solr//conf
“`
5. Configure DIH: Open the solrconfig.xml file in a text editor and add the following line inside the “ tag:
“`xml
“`
6. Configure Database Connection: In the same solrconfig.xml file, add the following lines within the “ tag:
“`xml
data-config.xml
“`
7. Create data-config.xml: In the core’s configuration directory, create a new file named data-config.xml. Inside this file, add the following lines and replace the placeholders with your database information:
“`xml
<dataSource type="JdbcDataSource"
driver=""
url=""
user=""
password="" />

<dataSource type="JdbcDataSource"
driver=""
url=""
user=""
password="" />

<entity name=""
query=""
deltaImportQuery=""
deltaQuery="">
<field column="" name="" />
“`
Replace “, “, “, “, “, “, “, “, “, and “ with the appropriate values for your database.
8. Configure schema.xml: Update the core’s schema.xml file to include the fields you want to index from the database.
9. Install JDBC driver: Download the appropriate JDBC driver for your database and place the JAR file in the Solr core’s `lib` directory.
10. Run Data Import: Start the data import process by sending a request to Solr through the browser or the terminal:
“`
curl ‘http://localhost:8983/solr//dataimport?command=full-import’
“`
Replace “ with the name of your Solr core.
11. Check Import Status: To check the progress of the data import, access the following URL in your browser:
“`
http://localhost:8983/solr//dataimport?command=status
“`
After successfully completing these steps, Solr should be connected to your database and you can start searching the indexed data.
What is the purpose of using localhost:8983 in web applications or software development?
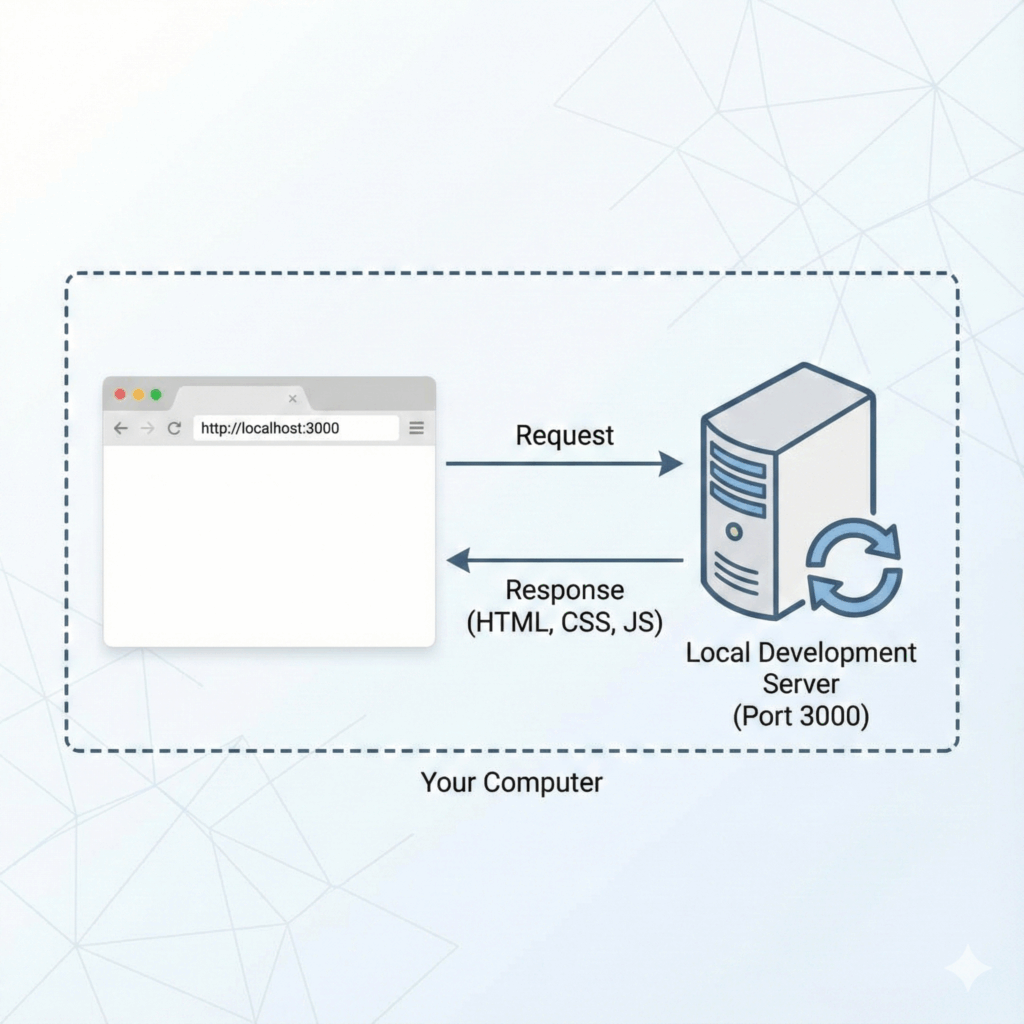
The purpose of using localhost:8983 in web applications or software development is to provide a local development environment for testing and debugging purposes. Localhost refers to the local computer where the application is being developed, while 8983 is the port number on which the application or service is running.
Using localhost:8983 allows developers to test their web applications or software without deploying it to an external server, ensuring that any potential issues or bugs can be identified and fixed before the application goes live. This approach helps to reduce development time and increases efficiency, as no additional resources are needed to set up and maintain a separate development environment.
How to configure and troubleshoot connection issues with localhost:8983?
To configure and troubleshoot connection issues with localhost:8983, follow these steps:
1. Check the configuration file: First, ensure that the configuration file for the service running on port 8983 is correct. It might be a config file for a web server like Apache or Nginx, or a configuration for an application like Solr or Elasticsearch. Double-check the settings related to listening address and port number.
2. Verify service is running: Ensure that the service or application you are trying to connect to is actually running. You can do this by using terminal commands such as `ps`, `top`, `netstat`, or `lsof`. For example, run the command `netstat -tuln | grep 8983` to see if there is any service listening on port 8983.
3. Check firewall settings: Verify that there are no firewall rules blocking access to port 8983. You can use `iptables` or `ufw` commands to manage firewall settings on Linux systems. For instance, run `sudo ufw status` to check the current firewall rules in place.
4. Test connection to localhost:8983: Open a web browser and try accessing http://localhost:8983 or use a command-line tool like `curl` to test the connection. For example, run `curl http://localhost:8983` and see if you get a response. If you still cannot connect, there might be an issue with the service itself.
5. Review logs: Check the logs of the service running on port 8983 to identify any errors or misconfigurations. The location of log files will vary depending on the service, but common locations include `/var/log/` and `/opt/`. You may also find log information within the service’s own directory.
6. Restart the service: Restarting the service might resolve temporary issues. Depending on the service or application, you can use commands like `systemctl restart` or `service restart`. For example, if we are dealing with Solr, run `sudo systemctl restart solr` to restart the service.
By following these steps, you should be able to identify and resolve connection issues with localhost:8983. Remember to keep an eye on logs and configurations, as they are often the key to troubleshooting problems.
What security measures should be taken when working with localhost:8983 in a development environment?
When working with localhost:8983 in a development environment, it is essential to ensure that your setup is secure and follows best practices. Here are some crucial security measures to consider:
1. Keep your software up-to-date: Regularly update your development tools, libraries, and frameworks to fix any known vulnerabilities, ensuring you have the latest security patches.
2. Use strong and unique passwords: Make sure you have a strong and unique password for any accounts or databases connected to your development environment.
3. Network access: Restrict access to your development environment by configuring your firewall or network settings to limit incoming connections. Only allow access from trusted IP addresses if necessary.
4. Disable unnecessary services: Disable all services and features that are not essential for your development environment. This reduces the attack surface for potential intruders.
5. Regularly review logs: Regularly check your system logs for any suspicious activity or unauthorized access attempts. This can help identify and resolve security issues quickly.
6. Use HTTPS: If your development environment requires communication over the internet, use HTTPS to encrypt data between the client and the server, ensuring privacy and integrity.
7. Implement proper authentication and authorization: Ensure that you have proper authentication and authorization mechanisms in place, such as limiting access to specific users and roles.
8. Backup your data: Regularly backup your development environment data and configurations to prevent loss of critical information in case of a security breach or system failure.
9. Follow coding best practices: Write secure code by following coding best practices and guidelines for your programming language and framework. This helps prevent introducing security vulnerabilities into your application.
10. Regular security audits: Conduct regular security audits to identify and rectify any potential security issues in your development environment.
By following these security measures, you can help ensure that your localhost:8983 development environment remains secure and protected against potential threats.


